GEOG5870/1M: Web-based GIS A course on web-based mapping
Continuing with the basic map example
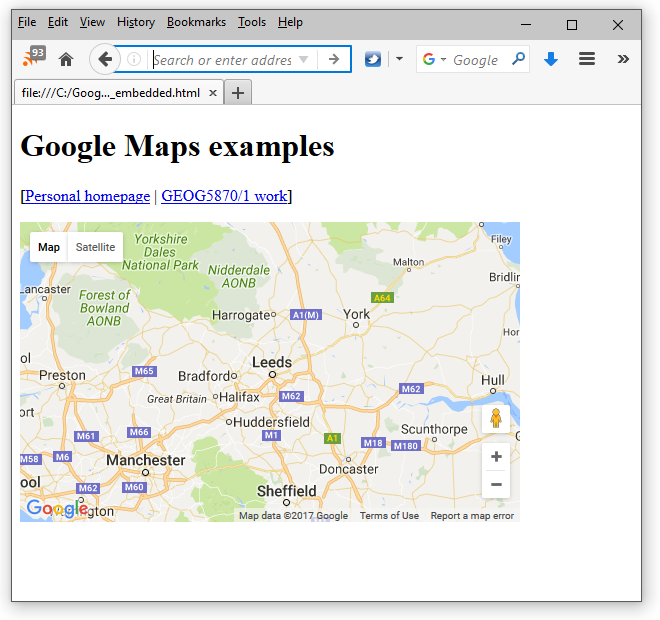
First of all, we shall look at various ways of adding to and improving the embedded map example that we developed in Unit 2. At the moment, it should resemble this:
There are a number of ways the presentation can be improved. Firstly, it would be useful to make the map bigger. The following code builds on the map and includes a few modifications.
<!DOCTYPE html>

<html>

<head>

<style type="text/css" media="all">


   .gmap { margin: 5px; border: thin solid black; float: right; }

 </style>


<script type="text/javascript" src="http://maps.google.com/maps/api/js">

</script>

<script type="text/javascript">

  function initialize() {

   var latlng = new google.maps.LatLng(53.807767,-1.557428);

   var myOptions = {

      zoom: 12,

      center: latlng,

      mapTypeId: google.maps.MapTypeId.ROADMAP

   };

   var map =

      new google.maps.Map(document.getElementById("map_canvas"),

      myOptions);

  }


  </script>

  <title>Google maps: example 3</title>

</head>


<body onload="initialize()">


<h1>Google Maps examples</h1>


<p>[<a href="../index.html">Personal home page</a> |

<a href="index.html">Geog5870 work</a> ]</p>

  <div class="gmap" id="map_canvas" style="height: 400px; width: 600px"></div>

</body>

</html>
The above code can be downloaded here.
Two of these changes are solely to do with the presentation of the map on the page. At the top, in the document header section, is a simple embedded style sheet, which contains a single style instruction.
<style type="text/css" media="all">


   .gmap { margin: 5px; border: thin solid black; float: right; }

 </style>
The style instruction
dictates how an entity of the class 'gmap' should be rendered. In the body of
the document, the second change is that the DIV section containing our
map has been given the class 'gmap'; thus it will pick up the new rendering
instructions.
<div class="gmap" id="map_canvas" style="height: 400px; width: 600px"></div>
This is an example of attaching both a CLASS and an ID to an
element. You should recall from the JavaScript tutorial that an ID is a unique
identifier for an element (allowing it to be unambiguously referenced, for example using
document.getElementById()); the same CLASS on the other hand can
be attached to multiple elements (thus allowing you to change the presentation
of all those elements by editing only the CSS information for that class). In styles,
a CLASS is referenced with a ".", while an ID is referenced with
"#"; here .gmap is the gmap class items.
The use of style sheets offers many advantages and is recommended; they are used in the examples in this module, although as with HTML coding, this module cannot include a lengthy tutorial on their use. There are many guides to using HTML and CSS on the web; a few starting points are given below:
The gmap class styling is fairly simple: a margin is defined, and a border is to be
placed around the object. The final part of the gmap class style is 'float:
right'; this causes the object to be drawn at the right of the screen, and for
text to flow around it.
The final modification is that the width and height
values for the map_canvas DIV have been made larger. Note that
there is no direct instruction (i.e. as part of the Javascript) to the Google
Maps API about how large the map should be. How does it know to return a
larger map? The answer is in the object initialisation function new
google.maps.Map():
   var map =

      new google.maps.Map(document.getElementById("map_canvas"),
We have passed into this function the parameter:
document.getElementById("map_canvas")
that is, we have passed in
(ultimately) the HTML item with the ID "map_canvas". The map object can then
work out from this what size it needs to be.
Task
Update your example to change the size of the map. Try different sizes, and if you are familiar with CSS, try different style settings. Add some further text to your example page.
[ Next: Adding markers (again) ]
[Course Index]