Practical 2, part 2 - Buttons and Procedures
Creating a Button

In this section, you will create a button that will be used to set up the model.
- Click on the drop-down list next to 'Add' and select 'Button' (see left image)
- Move the mouse to where you would like the button to be and left-click to place it.
In the new menu that appears you can specify what the button should do.
- Enter 'setup' in the commands box (without the apostrophes) - this will mean that a procedure called 'setup' is
called when the button is clicked. You'll see what this means shortly.
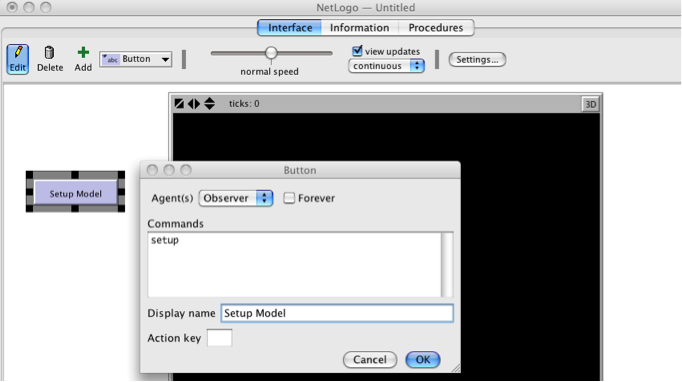
- The 'Display Name' is a label for the button. This will be displayed on the
button and you can choose any name you like. I have chosen "Setup the Model".
- Click on OK to finish the button.
You can see that the button is red which means it refers to a procedure (method, i.e. we will tell it to do something) that hasn't been
created yet. We'll do that now.
Procedures
One thing that hasn't been covered yet is procedures. These are a way of grouping
several commands together that perform a common task. One example is setting up the model:
there will probably be some commands to create the turtles, some for the patches, and some
to create other parts of the model. We can group these all together in a single procedure.
- Click on the 'Code' tab. This is where all the commands for our model go
We are going to create a new procedure called 'setup'.
- Enter the following text into the 'Code' tab:
                to setup

                     print "Setting Up Model"

                end
The code above does three things:
- The first line (
to setup) says whatever comes next will be part of
a procedure called 'setup'.
- You should be familiar with the second line (
print "Setting Up Model") -
it will print a message to the command centre.
- The third line (
end) says that we have come to the end of the
'setup' procedure. Any more commands that come afterwards are not part of
'setup'.
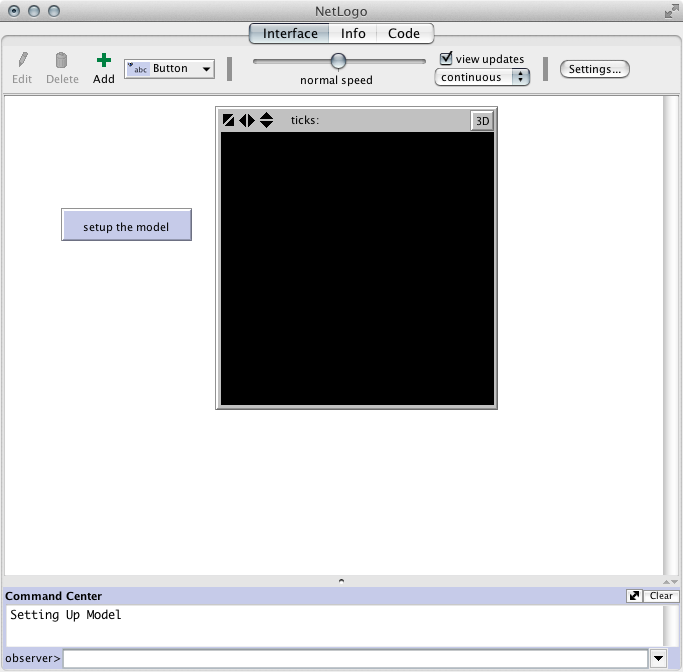
- Check this works by clicking on the 'Interface' tab. Has the button text gone from
red to black?
- Click on the button. You should see a message displayed on the command centre
(see right image).
Eh??
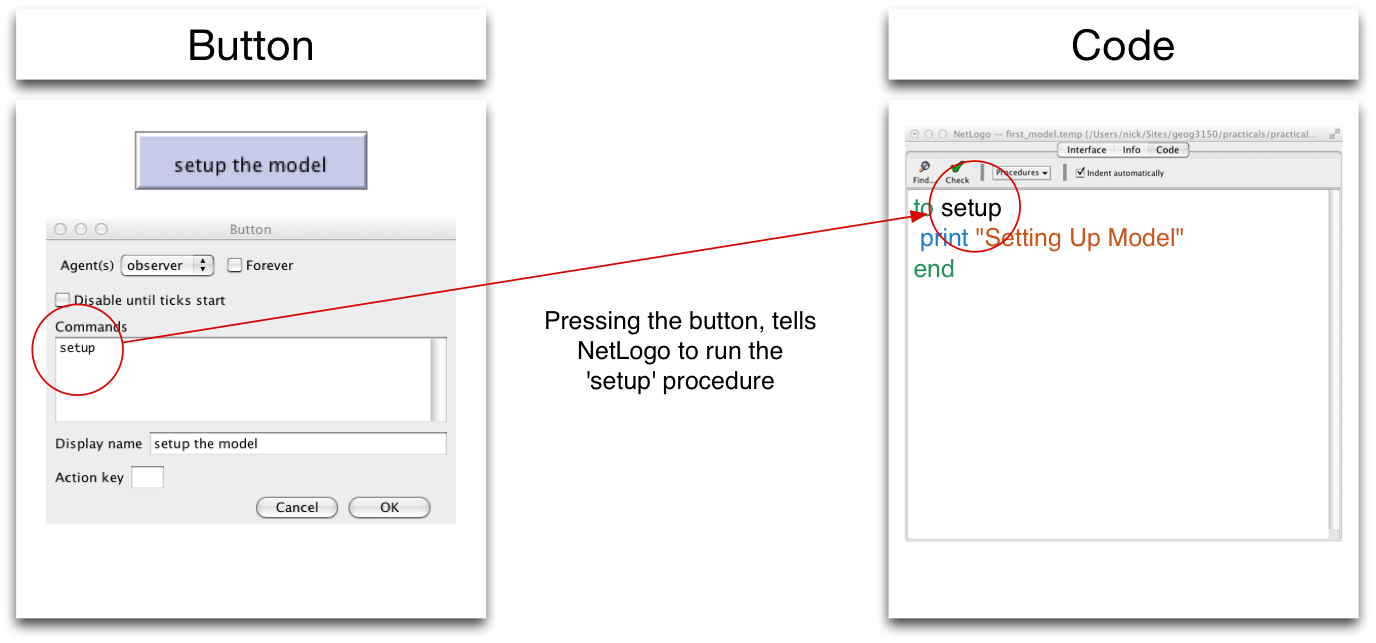
It's worth having another look at what is going on above, as this goes to the heart of
how NetLogo works. The first thing that we did is create a button. When creating it, we
told the button that if someone presses it, it should try to run a procedure called 'setup'.
Then, in the Code tab, we created a new procedure called 'setup'. So, if someone presses
the button, all the commands that are part of the 'setup' procedure will run. The image
below illustrates this graphically.
Have a go at the activities below. When you're comfortable that you can answer them,
move on to part 3.
Activity
- Write the NetLogo code that creates a new procedure called 'hello' to
print the text "Hello World" to the Command Centre.
[]
[]