GitHub basics
We'll now look at using Git to store code changes locally.
Once you've set up an account, exit the GitHub website and set up a package directory structure. For the purposes
of this practical, we'll assume it is the package uk.ac.leeds.geog.pgiaas.hellogit in
m:/GEOG5990M/src/uk/ac/leeds/geog/pgiaas/hellogit.
Save the following file into the hellogit directory:
HelloWorld.java (you may need to adjust the package). Compile and run it from m:/GEOG5990M/src using the command line (not Eclipse).
Here's the cmds if you want to cut and paste:
javac uk/ac/leeds/geog/pgiaas/hellogit/*.java

java uk.ac.leeds.geog.pgiaas.hellogit.HelloWorld
Next, we need some software to communicate with GitHub. You have various choices for Git client software. A lot of people run the Git command line software (GitShell). This has a huge number of powerful commands (a good starting point for learning this is the free online book Pro Git). A popular and powerful WIMP user interface is SourceTree (which also works with Mercurial). Both can talk to any Git repository system, not just GitHub. However, we're going to use the GitHub for Windows app.
The GitHub for Windows app only works with GitHub, but is a really well thought through app which makes using GitHub very simple. Download and install it from the GitHub site.
You'll see it installs two icons on the desktop: a purple Octocat icon (GitHub for Windows) and a cmd prompt icon (GitShell).
If you are installing it in our labs, it will install without admin rights, but unfortunately will install in the user space on the local "c" drive, rather than your "m" drive. This is fine, but it might get wiped at some point, in which case you'll need to reinstall it, and you'll need to install it separately on any machine you use. You won't lose anything if it is wiped: your repositories will be elsewhere (provided you follow our instructions).
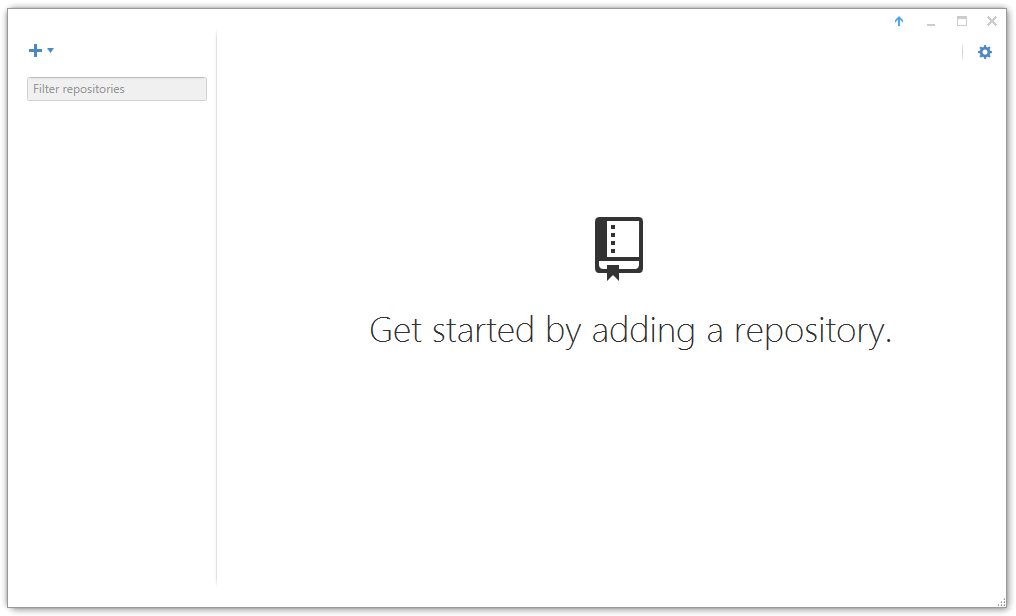
Open up GitHub for Windows, and log in. If this is the first time you've run it, it will ask you to confirm some details (if it asks but won't let you do it, just 'skip'). You should then see something like this...
Click the "+" button, and fill in the following details:
Name: HelloGit
Location: select the pgiaas directory (this will appear to add another directory in
here called HelloGit -- don't worry, it will use the existing one)
Push Create repository
If you now use Windows Explorer to look into the hellogit directory, you'll see it has created a bunch of git repository stuff.
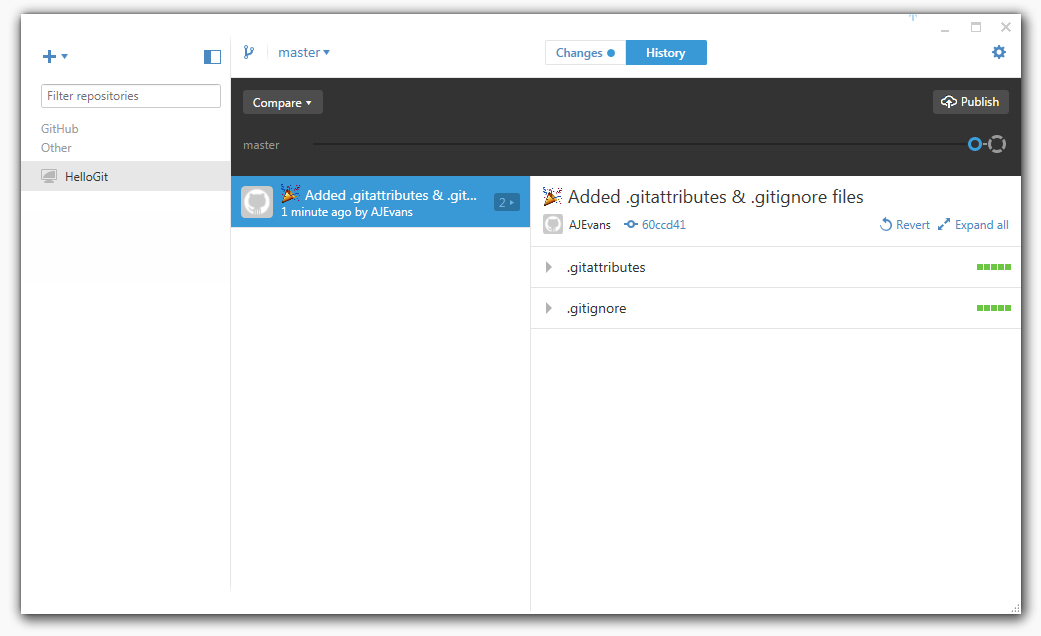
Going back to GitHub for Windows, You'll see the new repo added. The screen should look something like this:
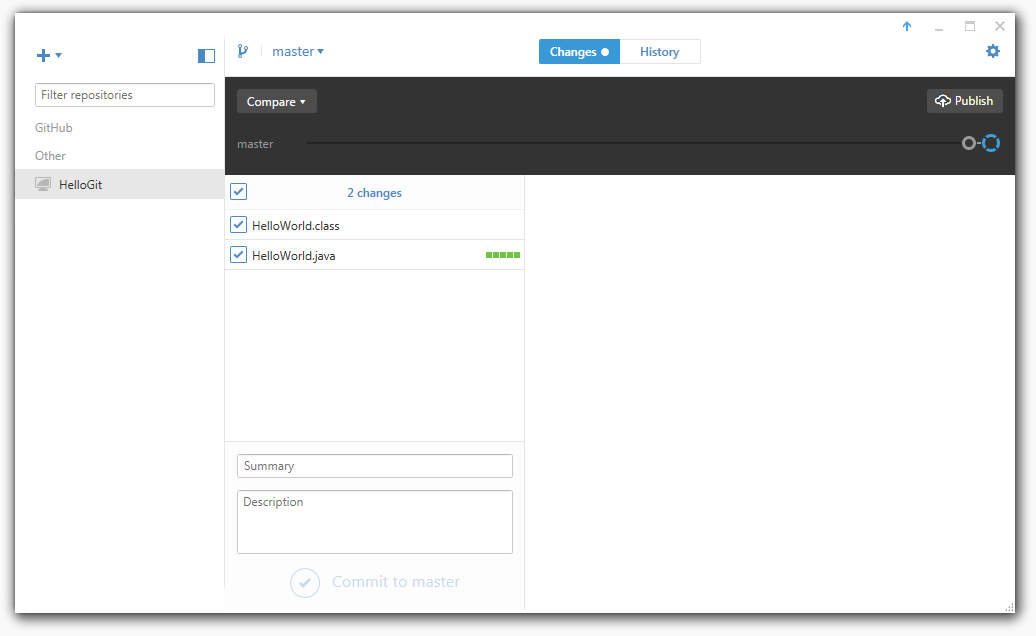
Click the Changes button at the top, and you should see this:
A few things to note.
- Any files that are new or changed are listed here under Changes. As we've just set up the repo, everything is listed.
- The Summary box contains space for a Summary. This is a bit of text that will allow everyone to recognise the version you commit.
- Compare the details listed under History (the first screenshot) and those under Changes. The history lists .gitattributes and .gitignore as two files that have been created. These files are made by github, so don't show up in the changes unless we alter them. Note that files starting with a dot often don't show up in Windows systems and software -- fortunately Notepad++ copes with them well.
Notice that one of the files just created is called .gitignore. This is an important file, as it filters out files/file types that we don't want to commit or push to the GitHub repository. We're now going to use this to filter out .class files and a directory of docs.
Click on the little icon in the top right that looks like a cog (tools and options). Then click Open in explorer. This will open Windows Explorer in the repo directory. Once there, open .gitignore in Notepad++.
At the very top of the file, add:
*.class

docs/
This will filter out all .class files and anything in a docs directory inside the hellogit directory.
Save the file and
go back to GitHub for Windows and the Changes screen. You should notice that the .class file has disappeared (if it hasn't, just unselect it -- the software can take a while to catch up). Try building the docs
from the src directory, thus:
javadoc -d uk/ac/leeds/geog/pgiaas/hellogit/docs uk/ac/leeds/geog/pgiaas/hellogit/*.java
You should find the docs don't appear in the changes.
As it happens, you can select for the system to build you a java gitignore when you make a repo (see the gitignore drop-down list on the new repo dialog), but it is worth knowing how to do it manually so you can filter out different directories.
Note that if you are working with
others, you can also add .gitignore and .gitattributes (no asterisk) to the .gitignore, if you want
each person to have their own .gitignore, rather than pulling it from the repo.
Note that you can also edit this under the Cog menu --> Repository settings
Having made that change, we'll now commit all our code to the local repo.
On the Changes screen, type into the Summary box, "Start" and hit the Commit to Master tick. If you then go to the History screen and click the
"Start" box, you'll see a variety of options appear,
plus a seven character name. This is the first seven characters of a
"hash code" (unique representation of the version)
that acts as a definitative name for it. To see the whole string, click the seven characters and then
paste in Notepad++. This can be used in some of the more complicated git commands, so it is worth recognising.
Now open "HelloWorld.java" in Notepad++ and change what it prints from "Hi" to "Hello World".
If you now go back to GitHub for Windows and Changes, you should now see the file is displayed as changed.
Click on file, and you should see the changes you've made.
Type "Changed print" in the summary box, and commit the change.
If you want to undo this last change, go back to the commit list under History, select the last commit and hit the "revert" icon. This will create a new commit with the changes undone, rolling back the file/s changed. If the file is still open in Notepad++, notepad will ask if you want to reload it because changes have been made (or it may do it automatically, depending how Notepad is set to respond under Settings --> Preferences --> MISC --> File Status Auto-Detection).
At the moment, we've been updating the "Master" branch. This is the main branch of the project. If you want to swap branches, or make a new branch, options exist by pushing the menu-icon in the top currently labeled "master".

In the dark area of the GUI, you'll see another icon, an arrow into a cloud, labelled "Publish". This is what we're going to now use in Part 3 to push our code to GitHub.