GitHub basics
We're now going to push our changes up to GitHub.
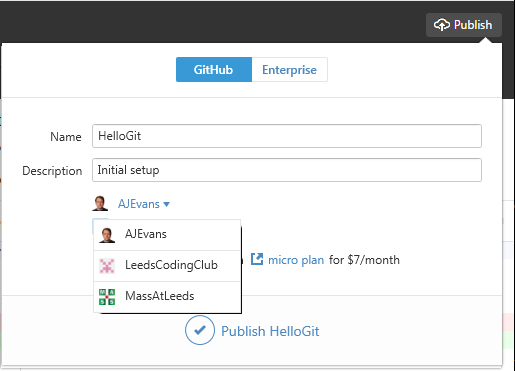
Push the Publish icon and fill in a description. Choose the GitHub area to save to (you'll probably only have your personal area, but you can see that organisations might also appear here if they have areas). Push Publish HelloGit and wait for it to finish.
If you then push right-click the repo name on the left and select Open in GitHub, it will open GitHub in your browser and you can see your new repo online.
It will open on a screen showing the commit sequence. You can push the "Code" tab on the webpage to view the current code (it usually opens in this anyhow). This is sometimes called "origin", as it is the source code other people will pull down.
Note that because the code is public, we wouldn't have to log in to see this.
If we do log in, however, we get some extra options:
- the option to delete files (Code tab --> click on filename --> Trashcan icon). This is a useful option if you've accidentaly uploaded a file you didn't mean to.
- You also get access to the Settings tab. Under this, you can Restrict edits to Collaborators only. If you do this, the code is still public, but people can only pull the code down, not push new code up.
- On the Code tab, you can also add and edit a "Readme.md" file describing the project. This is written in "markdown" - a very simple text-and-formating language
Login and add a Readme now. Remember to push the Commit changes button at the bottom of the editor that opens. We'll pull this Readme to our local repository next.
Go back to GitHub for Windows and you'll see the publish button is now "Sync". Push this and wait for it to finish. The Readme.md file should appear in the list, and you should be able to see it in the directory using Windows Explorer.
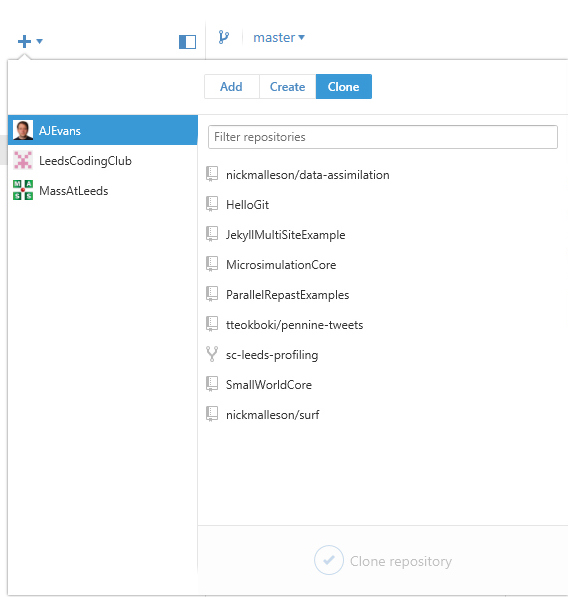
Note that as you build up repositories, if you want to use them on another machine, you just open up GitHub for Windows and all your repos on GitHub will be listed under "+" --> Clone. You can clone them by clicking on their name and clicking "Clone project-name".
Note that cloning will give you the change to pick the directory to clone into. In the case above, if we were cloning "hellogit" on another machine, we'd build the directory hierarchy (including the hellogit directory) and select the "pgiaas" directory to clone to, as it would use our pre-built hellogit directory as before, this time copying the code in for us as well as setting up a repository.
That's it for setting up your own repository. But what if you want to pull down someone else's? That's what we'll look at in Part 4.