Arc Toolbar
This practical we'll be building a small crime analysis toolbar, based on work by the Manchester police.
Manchester police have found that in general, if somewhere is burgled, there is an increased risk of burglary for the houses within 400m of the burgled house for up to 4 weeks. Our toolbar will buffer a burglary file and then list the houses in an area by chance of burglary. Those houses that fall inside the most buffers will have the largest burglary risk. As our area is a rather small corner of the East End of London, we'll use 80m buffers.
First, let's build our toolbar. This requires several stages: first we build the tools to go on it, then we build the toolbar itself.
First of all, open Eclipse and make yourself a new addIn project, as we did last practical. Call it "Burglary". Once you've got that, make an addIn Button with the following properties:
ID: uk.ac.leeds.geog.pgiaas.RiskButton NB ESRI suggest using a package structure here.
Class: RiskButton

Caption: Risk calculation

Category: JavaCommands
Make the class, giving it the uk.ac.leeds.geog.pgiaas package.
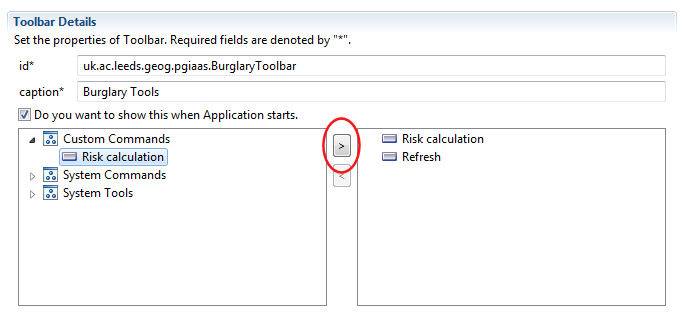
Once you've got the empty button class, go back to the Config.xml and add a Toolbar addIn. Give it the following properties:
ID: uk.ac.leeds.geog.pgiaas.BurglaryToolbar

Caption: Burglary tools

Do you want to show this when the application starts: Tick for yes
The last option makes this a "premier" toolbar, which is automatically shown on startup.
You'll notice that you get the option to choose tools for your toolbar. The one we want
most immediately is the Risk calculation
tool we've just created. Move that across by selecting it and hitting the right-pointing arrow
button (circled below).
Once you've done that, also add in the built-in tool Refresh, just so we have something else to play with. You can find it under System Commands -> Tools. Once you've added that, click on the Burglary Tools addin on the addin menu on the left of the screen (below) and select the new Refresh tool.
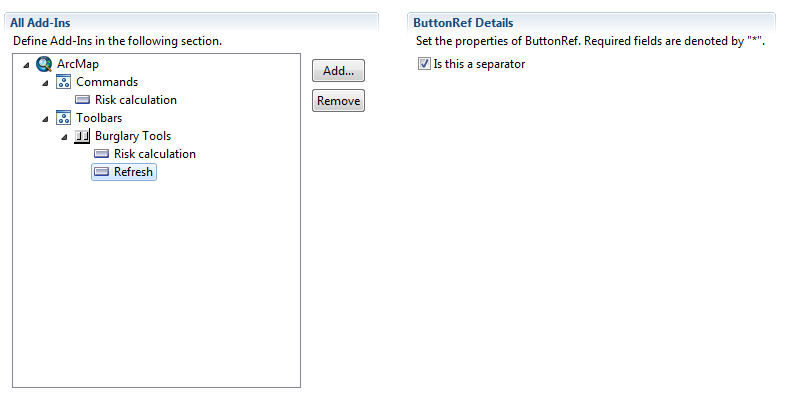
You'll see that a new set of options appears on the right side of the editor. Tick Is this is a separator. This will put a separator before this component. It doesn't do anything, but they are nice for dividing toolbars into blocks of functions.
Once you've done all this, dump some "Hello World" code into the button and test your new toolbar. If you've set it to show when the application starts, and you've exported it to the default location, you shouldn't need to add it -- it should automatically appear, floating somewhere on the GUI and ready for you to drag into a toolbar space. Provided it works, move on to Part Two where we'll start adding some functionality.