Using Eclipse with a Source Tree
This tutorial will walk you adding a branch of a source tree to an Eclipse project so you don't have to store everything in separate Eclipse projects.
In this tutorial, we'll use an independent source tree as the location of all our files, though obviously there's nothing to stop you keeping some files in an Eclipse project and using this technique to add classes from an alternative source tree.
First, let's make ourselves some files to add. Outside of Eclipse, make yourself a directory in your src tree. For the purposes of this tutorial, we'll assume this is:
m:/GEOG5990M/src/uk/ac/leeds/geog/pgiaas/helloworld.
Save the following file into the helloworld directory:
HelloWorld.java (you may need to adjust the package). Make sure you have at least one other
branch in the src tree. We'll assume here we have another directory structure:
m:/GEOG5990M/src/uk/ac/leeds/geog/pgiaas/lolcats.
Which will, at some future point, contain code of much more importance, but which we don't want in our project.
Now we'll set up an Eclipse project using the helloworld directory (we don't need anything in the directory, but we might as well see what happens when there is), but not
the lolcats directory. The trick is to add the root of the helloworld structure (m:/GEOG5990M/src/) without also adding the
lolcats structure.
First, open up Eclipse and open the File --> New --> Java Project wizard.
Call the project DirectoryTest, stick with the default location for the project files, and push Next
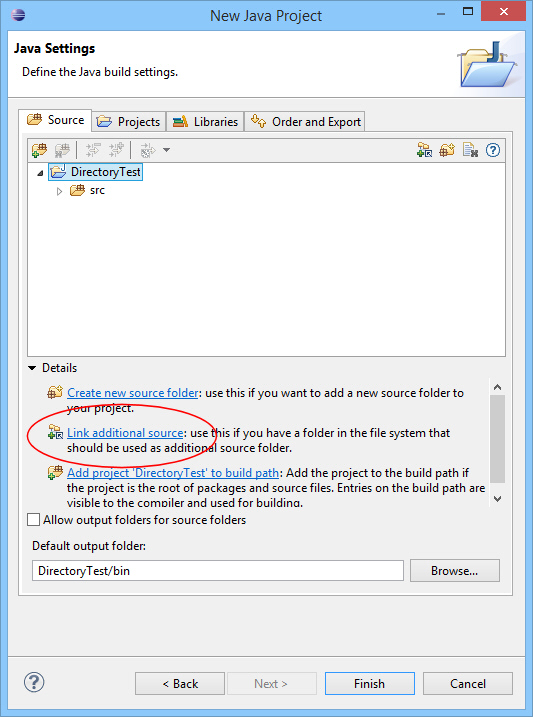
On the next dialog, click the Link additional source link to bring up a new wizard.
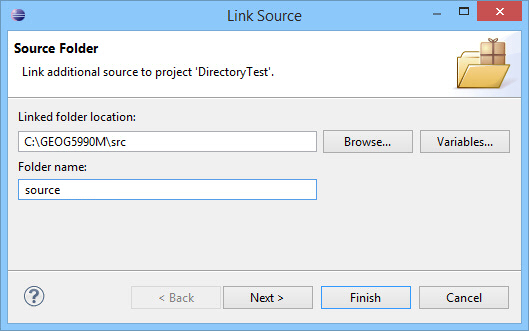
In this next screen, we can set up files to include and exclude. This is where you could, for example, set up to exclude revision-control files. All included files are included, unless they match an excluded rule.
Click to Add an inclusion rule, and add *.java
Click to Add an exclusion rule, and add uk/ac/leeds/pgiaas/lolcats/*
Click Finish on this dialog, and the main dialog.
You should see there are two source directories for the project: src and your new directory source. If you like, you can right-click on src and delete it to prevent confusion.
Right-click on the source directory, and select Build Path --> Use as Source Folder.
The folder structure should disappear, and your files should appear as in a package. If the lolcats tree appears in brown, you can exclude it from the build path by right-clicking it and selection Build Path --> Exclude. This will turn it to a white parcel, meaning it is excluded from the build path. Obviously if you need any of the white parcels because they contain classes you want to use, you can Include them from the same location.
You should now be able to click on the green run icon and have your file run.
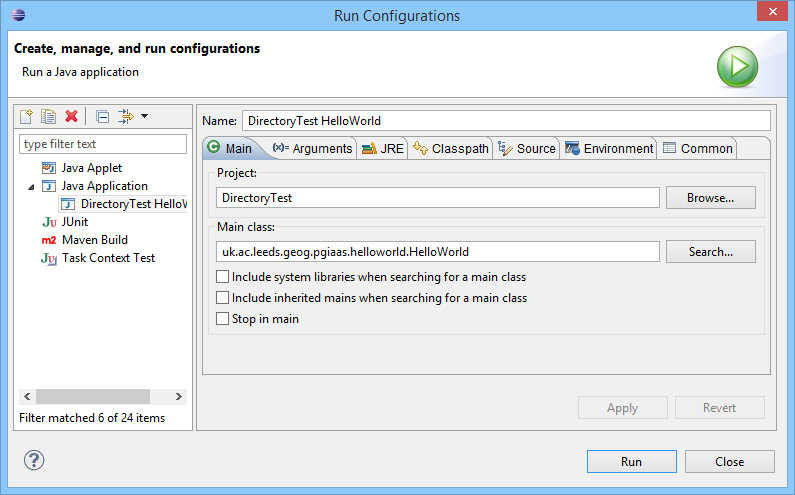
If this doesn't work, you may need to set up a specific run configuration, because you have others associated with other projects, or more than one main file. You can do this under Run menu --> Run Configurations... A typical configuration for this project is shown to the right.