Arc ModelBuilder
Now we'll add a second tool, and connect it to the buffer output.
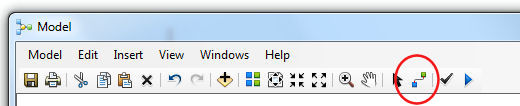
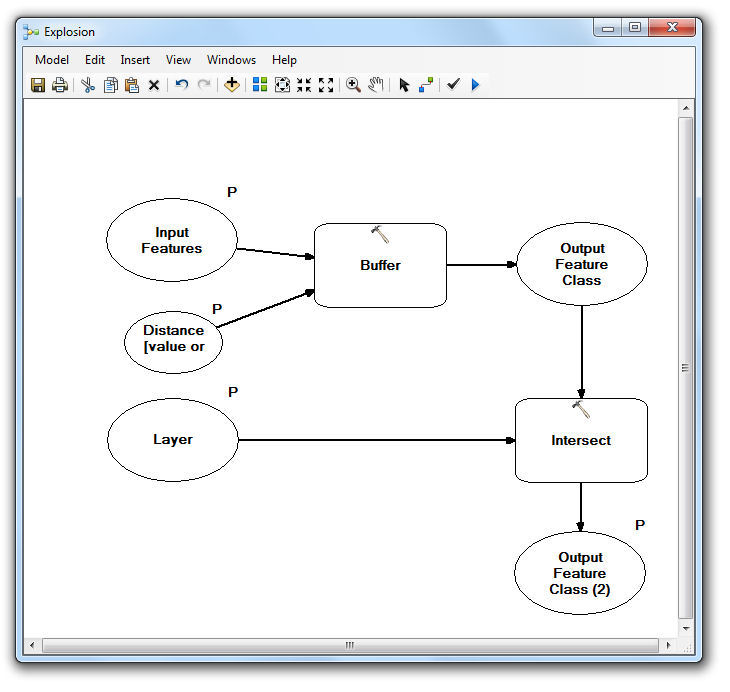
Open up the ArcToolbox Analysis Tools -> Overlay toolbox. Drag the Intersect tool into the modelbuilder. Intersect takes in two or more layers and essentially gives you the areas in both of them. For the first layer, we're going to use the output of the buffer tool. Click on the connect icon on the modelbuilder toolkit bar:
The mouse arrow should change into a little wand. Click inside the Output Feature Class circle associated with Buffer, and release the mouse. Move into the Intersect tool square, and click again. An arrow should appear between the two, with a small popup menu. Choose Input Features from this menu; this will set the output of the Buffer to be the input of the Intersect. Click the arrow tool on the modelbuilder toolkit bar (next to the connect tool) to move out of connect mode. If you mess up, and start creating lines all over the place, just hit delete to remove them.
We now need to set our second input layer up. Unfortunately, the documentation on how to do this isn't great, and modelbuilder will refuse to do anything as simple as just asking for a new variable directly from the Intersect parameters. Instead, go to the modelbuilder Insert... menu, and select Create Variable.... Select Layer from the options and select OK. Connect this new Layer to the Intersect tool as an Input Feature, as before. Finally, set this new Layer variable, and the Output Feature Class(2) from the Intersect tool as Model Parameters, so the user is asked for them (May alternatively be called Intersect (3)).
Make sure the correct toolbox is selected in ArcToolbox, and then hit Save in modelbuilder to save the model. It can't hurt to also resave your map at this point. You can now validate your model. From the Model menu, select Validate Entire Model. Provided it doesn't come back with any errors, the model should hold together fine. Does it look like the full model diagram below (at least in terms of the parameters and links: you might find the last output is called Intersect(3) instead - that's fine)?
Finally, go on to Part Four, where we'll run the model.